
Designing Custom Leather Pieces: Creating Unique Custom Leather Accessories
- vasekarmoryandleat
- Apr 13
- 4 min read
When I first picked up a piece of leather and a sharp knife, I didn’t know I was stepping into a world where craftsmanship meets character. Leatherwork is more than just cutting and stitching; it’s about creating something rugged, durable, and personal. Whether you’re gearing up for SCA events, cosplay, or just want a piece that stands the test of time, designing custom leather pieces is an art that demands patience, skill, and a bit of grit.
The Foundation of Designing Custom Leather Pieces
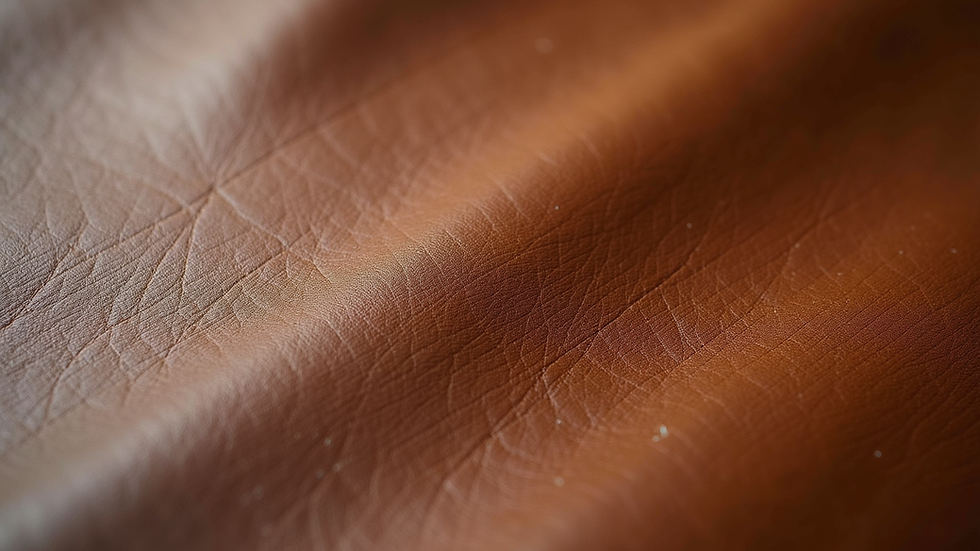
Leather is a living material. It breathes, ages, and tells a story. When you start designing custom leather pieces, you’re not just making an accessory; you’re crafting a legacy. The first step is understanding the type of leather you’re working with. Full-grain leather, for example, is the toughest and most durable, perfect for armor or belts that need to take a beating. On the other hand, top-grain leather offers a smoother finish but sacrifices some toughness.
Choosing the right leather is like picking the right tool for the job. You wouldn’t use a butter knife to carve wood, so don’t skimp on your leather quality. Look for hides that have minimal scars and consistent thickness. Thickness matters because it affects flexibility and strength. For armor, you want something thick enough to protect but flexible enough to move.
Once you’ve got your leather, it’s time to sketch your design. I always recommend starting with a rough draft on paper. This helps you visualize the final product and plan your cuts. Remember, leather doesn’t forgive mistakes easily. A wrong cut can ruin an entire piece.
Tools and Techniques for Designing Custom Leather Pieces
You don’t need a fancy workshop to start, but having the right tools makes a world of difference. Here’s a basic rundown of what you’ll need:
Cutting tools: A sharp rotary cutter or a leather knife.
Edge beveler: To smooth and round the edges.
Hole punch: For rivets, snaps, or stitching holes.
Stitching tools: Needles and waxed thread.
Burnishing tools: To polish edges.
Leather dye and finish: For color and protection.
When it comes to stitching, hand-stitching is the gold standard. It’s slower but stronger than machine stitching. I use a saddle stitch technique that locks each stitch in place, so if one breaks, the rest stay intact. It’s a bit like military discipline for your leather.
Dyeing leather is where you can really make your piece unique. You can go classic with natural browns and tans or get creative with deep reds, blacks, or even blues. Just remember to test your dye on a scrap piece first. Nothing worse than ruining a masterpiece with a bad color choice.

The Art of Personalization in Leatherwork
What sets a custom leather piece apart from a store-bought one is the personal touch. This is where your story, your style, and your needs come into play. Maybe you want your initials stamped on a belt buckle or a unique pattern etched into a bracer. Maybe you need a custom sheath that fits your sword perfectly.
Personalization isn’t just about aesthetics; it’s about function. For example, if you’re making armor for SCA or cosplay, you need to consider mobility and comfort. Adding adjustable straps or padding can make a huge difference in wearability. Don’t just make something that looks good on a mannequin; make something that works for a real person in action.
One of my favorite techniques is tooling leather. This involves carving designs into the surface to create depth and texture. It’s time-consuming but worth every minute. Tooling can tell a story, whether it’s a family crest, a mythical beast, or a simple geometric pattern.
Building Durability Into Every Stitch
Leather is tough, but your craftsmanship needs to match. Durability isn’t just about the leather itself; it’s about how you put it together. Use rivets or double stitching in high-stress areas. Reinforce edges with burnishing and edge paint to prevent fraying.
When designing custom leather pieces, think about the environment they’ll be used in. Will your piece face rain, sweat, or rough terrain? If so, waterproofing treatments and regular conditioning are essential. I recommend using natural beeswax or leather conditioners that keep the leather supple without clogging the pores.
Don’t forget the hardware. Buckles, snaps, and rivets should be made of solid brass or stainless steel. Cheap hardware is the weak link that can ruin an otherwise perfect piece.
Bringing It All Together: From Concept to Finished Product
The journey from a blank piece of leather to a finished product is a rewarding one. It’s a process that requires planning, patience, and a willingness to learn from mistakes. Start small if you have to. Make a keychain or a simple wallet before tackling a full set of armor.
Keep a journal or sketchbook of your designs and techniques. Over time, you’ll develop your own style and shortcuts that work for you. Don’t be afraid to experiment with colors, textures, and hardware.
If you want to explore more about custom leather accessories, check out resources and communities that share your passion. There’s a whole world of leather crafters out there who love to swap tips and stories.
Crafting Your Legacy One Stitch at a Time
At the end of the day, designing custom leather pieces is about more than just making something to wear. It’s about creating a piece of yourself that lasts. Whether it’s a belt that holds your tools, armor that protects you in battle, or a bag that carries your essentials, every stitch tells a story.
So grab your tools, pick your leather, and start crafting. It won’t always be easy, but nothing worth doing ever is. And when you hold that finished piece in your hands, you’ll know it was made with grit, heart, and a whole lot of American craftsmanship.
Keep your leather conditioned, your tools sharp, and your designs bold. The road to mastery is long, but every step is worth it.


Comments